In my Austin garage, I’ve spent the last decade learning that living well isn’t about having the most expensive power tools on the market. It’s about “High Lifestyle ROI.” I’ve seen so many friends drop $300 on a brand-new, top-of-the-line miter saw because their cuts looked “choppy,” when a simple $40 accessory would have given them pro-level precision on the tool they already owned.
If you’ve ever felt limited by your gear or frustrated that your projects look just a little bit “amateur,” here is the good news: the gap between frustration and a perfect “Sunday reset” project is usually just a few well-chosen add-ons. These are the eight accessories that help you work smarter, stay organized, and actually enjoy the process.
The Optimization Mindset: Why Accessories Beat New Tools
Before we dive into the kit, let’s talk philosophy. We often suffer from “tool fatigue”—that mental drain that happens when you have a dozen different gadgets but none of them seem to do the job quite right [2]. We get caught in a cycle of “tool overload,” thinking the solution is always a new motor or a bigger battery platform.
Here’s the thing: most DIY limitations aren’t actually about the tool’s power. They’re about the interface between the tool and the material. As the mathematician Terence Tao once suggested regarding cognitive tools, true mastery comes from learning the specific limitations of what you’re using and finding the exact right way to extend its capability [2]. In the workshop, that extension is your accessory.
By choosing high-ROI accessories, you’re practicing “project-backward planning.” You aren’t buying gear for the sake of gear; you’re buying the solution to a specific headache.
1. Impact-Rated Driving Bits (The Performance Upgrade)
I’ll admit it—I spent years using the cheap, generic bits that came in those “100-piece” variety packs. I thought stripping screws was just a natural, unavoidable part of home improvement. I’d be midway through building a new cedar planter for the patio, the sun would be setting, and crunch—another screw head ruined.
What finally clicked for me was realizing that standard bits aren’t designed for the high-torque “hammering” action of modern impact drivers. I switched to a dedicated set of impact-rated bits, which feature a specialized “torsion zone” that flexes under pressure rather than snapping or slipping. Using these during a recent deck build was a revelation; I didn’t strip a single fastener.
- Essential: Look for bits with a “torsion zone” clearly visible in the design
- Essential: Stick to reputable brands like DeWalt or Milwaukee for metallurgy consistency
- Pro Upgrade: A magnetic bit sleeve to hold long screws securely in place
Micro-Verdict: The real win here: Ending the “stripped screw” frustration forever.
2. High-Tooth Count Saw Blades (The Precision Multiplier)
You know that feeling when you finish a cut on a piece of trim, only to find the edges are jagged and “fuzzy”? Most people blame their saw or their steady hand. But here’s the secret: the “stock” blade that comes with most circular saws is a framing blade, designed for speed, not beauty. It’s the equivalent of trying to perform surgery with a steak knife.
I was skeptical that a blade change would matter until I swapped my factory blade for a high-tooth-count finishing blade. Suddenly, my $99 circular saw was producing edges so smooth they barely needed sanding. Consumer testing frequently shows that a premium blade is the single most effective way to upgrade an entry-level saw [5].
- Best For: DIYers working with plywood, trim, or furniture projects
- Essential: A 40-tooth or 60-tooth blade for 7-1/4 inch saws
- Essential: Carbide-tipped teeth for longevity and heat resistance
The game-changer: Professional-grade, butter-smooth edges on a budget tool.
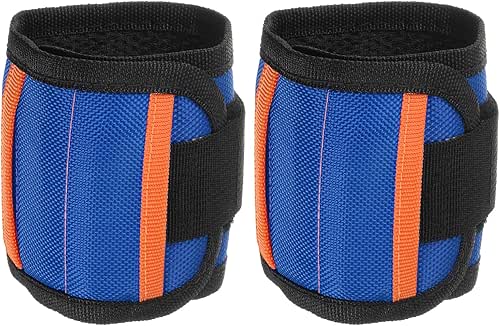
3. The Magnetic Wristband (The Organization Hack)
Let me be honest: I ignored this for years because I thought it looked like a “as-seen-on-TV” gimmick. I’d just keep my screws in my pockets or, worse, hold them in my mouth while standing on a ladder. Then I dropped a handful of tiny brass screws into the long grass while trying to install a new porch light, and I realized my “system” was broken.
Workspace disorganization is a silent productivity killer. Research has shown that a cluttered environment can increase stress levels by up to 85% [4]. When I finally tried a magnetic wristband, the “lost screw syndrome” vanished. It keeps your fasteners exactly where you need them, especially when you’re working in tight spaces or at height.
- Essential: Multiple strong neodymium magnets to hold heavier drill bits
- Essential: Breathable mesh backing (especially for those Austin summers)
- Pro Upgrade: A model with small pockets for non-magnetic items like plastic anchors
⚠️ Safety Note: If you or someone in your home has a pacemaker, please be cautious with high-strength magnets near the chest area.
Bottom line: Total fastener control that keeps your focus on the project, not the floor.
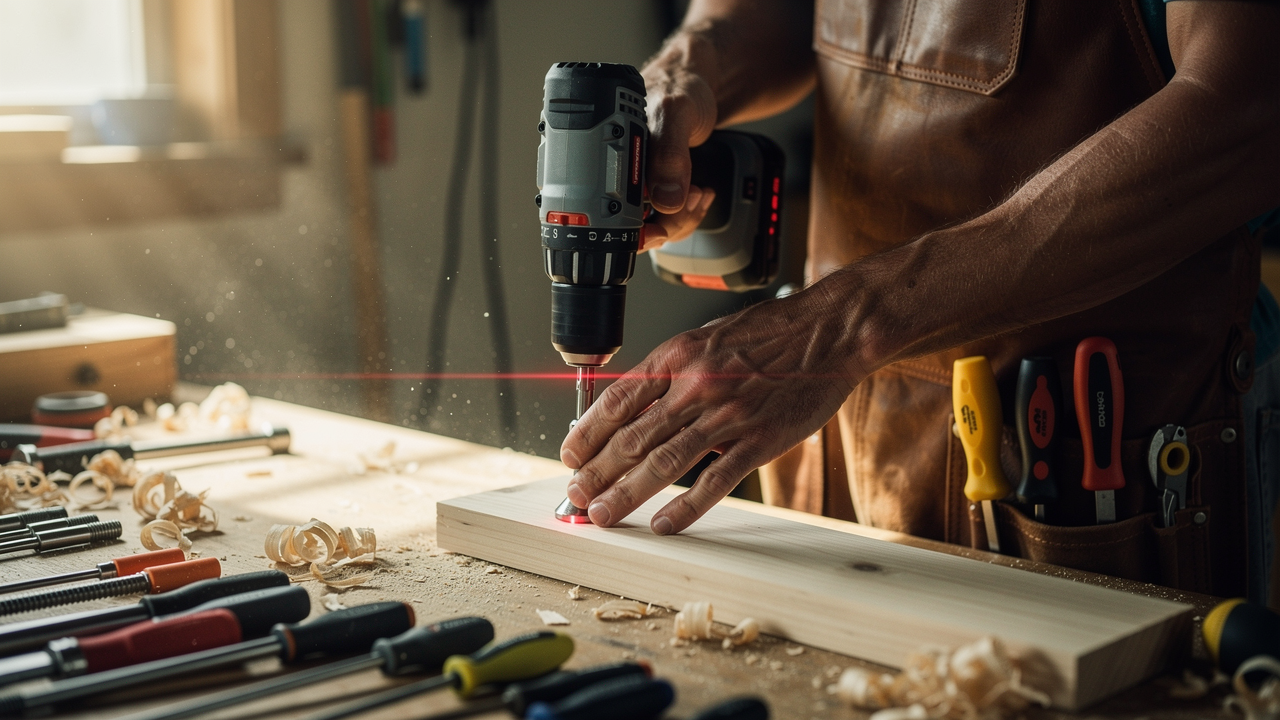
4. Digital Laser Measure (The Efficiency King)
I used to be a tape measure purist. But let’s face it: trying to measure a 20-foot room by yourself involves a lot of the tape collapsing, falling off the corner, and “guesstimating.” If you’re doing energy-efficiency upgrades like weatherization, even a half-inch error can mean your insulation or window treatments don’t fit correctly [1].
I transitioned to a laser measure when I was calculating floor area for a tile project, and it turned a 20-minute struggle into a 2-minute breeze. It’s about more than just speed; it’s about the ROI of getting the order right the first time so you aren’t making extra trips to the hardware store.
- Best For: Renters planning furniture layouts or homeowners doing large-scale renovations
- Essential: Backlit display for reading in dark closets or attics
- Essential: Simple “Area” calculation function (it does the math for you)
The real win here: Instant, solo accuracy that eliminates the “measure twice, cry once” cycle.
5. Right-Angle Drill Attachment (The Limitation Breaker)
Here’s a classic DIY scenario: you’re trying to install a shelf inside a cabinet or fix a loose bracket behind a toilet, and your drill is simply too “fat” to fit into the gap. You end up trying to drive the screw at a weird angle, which—you guessed it—strips the head.
I ignored this tool until I had to install a kitchen faucet in a space so tight I couldn’t even get a screwdriver in there. This little attachment acts as a 90-degree gearbox for your drill. It’s a “limitation breaker” that turns an impossible task into a five-second fix. Just remember to check the RPM limits; most are designed for driving, not high-speed drilling.
- Essential: Low-profile head (less than 2 inches is ideal)
- Essential: Impact-rated if you plan to use it with an impact driver
- Essential: Magnetic socket to keep the bit from falling out in dark corners
What sold me: Access to the “impossible” spaces you didn’t think a drill could reach.

6. Self-Centering Hinge Bits (The Frustration Killer)
If you’ve ever installed a cabinet hinge or a door lock only to realize the screw is slightly off-center—making the whole thing sit crooked—you know my pain. You try to fix it, but the screw just wants to slide back into the old, wrong hole.
I found these “Vix-style” bits through a woodworking mentor after a particularly frustrating kitchen cabinet refresh. The bit is encased in a spring-loaded guide that fits perfectly into the hole of the hinge. It forces the drill to stay dead-center. It’s a $15 accessory that can save a $500 cabinet project from looking like a “oops” DIY.
- Best For: Beginners who want to master “small-but-mighty” home repairs
- Essential: A set that includes the #6, #8, and #10 screw sizes
- Essential: High-speed steel (HSS) bits for clean holes in hardwood
The game-changer: Perfectly aligned hardware on the first try, every single time.
7. Premium PPE: ANSI-Rated Eye & Ear Protection
We often treat safety gear as an afterthought—those scratched-up, foggy plastic glasses from the bottom of the bin. But here is the thing: if your safety gear is uncomfortable, you won’t wear it.
I finally invested in “High Lifestyle ROI” PPE—glasses that don’t fog and ear protection that actually lets me listen to a podcast while I work. Not only is this a health priority (loud decibels and fine dust are serious long-term risks [6]), but it also keeps you in the “flow state” longer. OSHA and ANSI standards aren’t just for job sites; they ensure your eyes stay protected from high-velocity debris in your own garage [3].
- Essential: Anti-fog coating on eye protection (non-negotiable for Austin humidity)
- Essential: NRR (Noise Reduction Rating) of at least 22dB for power tools
- Pro Upgrade: Bluetooth-integrated ear muffs for “workshop-as-sanctuary” vibes
Bottom line: Comfortable protection you’ll actually enjoy wearing.
8. Modular Wall Organization (The System Foundation)
The final “accessory” isn’t for your tool—it’s for your space. We’ve all spent thirty minutes looking for that one specific wrench, only to give up in frustration. This is “workspace disorganization” at its worst.
I moved from a cluttered pile on my workbench to a modular rail system (like a French Cleat or a slat-wall) and it completely changed my Sunday workflow. Instead of a “weekend overhaul” to clean the garage, I now do a “90-minute reset” once a month. When everything has a designated home, your brain can stop searching and start creating [7].
- Essential: A system that uses vertical wall space to free up your workbench
- Essential: Weight-rated hooks (don’t hang a 20lb leaf blower on a 5lb hook)
- Pro Upgrade: Clear, labeled bins for consumables like nails and washers
The real win here: A workshop that supports your creativity instead of draining your energy.
When to Upgrade vs. When to Buy New
How do you know if you need a new tool or just a better accessory? I use this simple diagnostic framework to keep my “High Lifestyle ROI” in check:
- Is the motor struggling or smoking? Buy a new tool. The power plant is failing.
- Is the cut rough or jagged? Upgrade the blade. Your “interface” is dull.
- Can you not reach the screw? Buy an accessory (like a right-angle attachment). Don’t buy a smaller drill.
- Are you stripping fasteners? Upgrade the bits. Your metallurgy is the problem.
- Are you losing focus or feeling stressed? Invest in organization or better PPE.
Optimization is rarely about the big, flashy purchase. It’s about the small, intentional wins that make the “Good Life” a little easier to build. Go get something done today—even if it’s just finally organizing that drawer of random drill bits.
Affiliate Disclosure: Links to recommended gear help support the site at no extra cost to you. I only recommend items I’ve actually gotten dusty in my Austin garage.
References & Authoritative Sources
- U.S. Department of Energy. (2025). DIY Energy Saver Projects: Weatherization and Accuracy. https://www.energy.gov/energysaver/do-it-yourself-energy-savers-projects
- Tao, T. (2024). Learn the Limitations of Your Tools. https://terrytao.wordpress.com/career-advice/learn-the-limitations-of-your-tools/
- OSHA. (2025). Personal Protective Equipment Standards for Impact Resistance. https://www.osha.gov/personal-protective-equipment
- Journal of Emerging Investigators. (2023). The Impact of Workspace Organization on Stress and Focus. https://ipalab.princeton.edu/document/296
- Consumer Reports. (2024). Power Tool Accessory Testing: Blades and Bits. https://www.consumerreports.org/cro/tools
- WebMD. (2025). Health Impacts of Workshop Dust and Noise Exposure. http://www.webmd.com/balance/ss/slideshow-clutter-affects-health
- Garage Living. (2025). The Principles of Modular Workshop Storage. https://www.garageliving.com/blog/garage-tool-storage