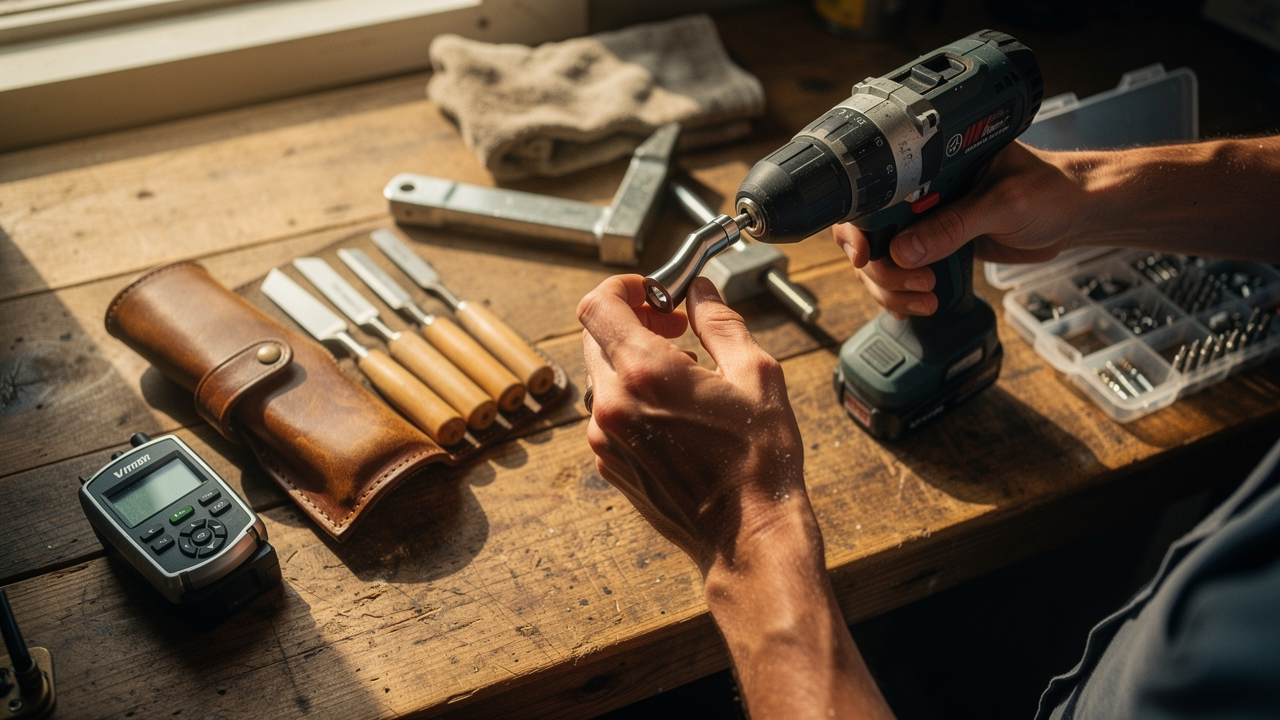
Two hours later, I was staring at a stripped screw head, a slightly crooked shelf, and a mounting sense of project frustration. My high-end drill was doing its job, but the supporting players—the bits and the layout tools—were failing me.
At “Best Goods for Good Life,” I talk a lot about “High Lifestyle ROI.” Usually, we’re talking about linens or kitchenware, but it applies to your workshop too. Living well means your environment supports you rather than draining you. In the DIY world, that doesn’t mean buying the most expensive power saw on the market; it means investing in the tool accessories that bridge the gap between “frustrated tinkerer” and “efficient maker.”
The Hidden Tax of Inefficient DIY Work
Here’s a reality check that surprised me: even the pros struggle with project management. According to research by the Project Management Institute, about 12% of projects fail due to poor planning or scope creep [9]. In our homes, that “failure” looks like half-finished baseboards or a garage full of “someday” projects.
Most of us assume inefficient DIY work is a personal failing, but often it’s a “hidden tax” caused by tool limitations. We try to make a standard drill bit do the work of a masonry bit, or we skip the clamping phase because we don’t have a “second set of hands.” This leads to what experts call the “50 workshop mistakes”—small, recurring errors in organization and planning that can double the time a project takes [7].
When your space is disorganized and your accessories are subpar, you aren’t just losing time; you’re losing the joy of creating. Let’s fix that by looking at the eight items that actually move the needle on your workshop’s ROI.
8 Essential Tool Accessories for Every DIYer
1. Impact-Rated Driver Bit Sets
Let me be honest: I ignored the “impact-rated” label for years, thinking it was just marketing fluff. I’d buy the cheapest bulk bins of Phillips head bits and then wonder why I was constantly “camming out” (that’s the annoying slip-and-shred feeling) and ruining my hardware.
What finally clicked for me was learning about torsion zones. High-quality bits from brands like DeWalt or Milwaukee are engineered to flex under the high torque of modern impact drivers [4]. Since I made the switch, I haven’t stripped a single deck screw. It turns out, using the right bit makes your $150 drill feel like a $500 precision instrument.
Micro-Verdict: The ultimate cure for the headache of stripped screws and ruined hardware.
2. High-TPI Saw Blades (Task-Specific)
You know that feeling when you finish a cut on a piece of expensive finish plywood, only to see the edges looking like they were chewed by a beaver? I used to blame my shaky hands. Then I realized I was using the “general purpose” blade that came in the box with my saw—usually a low-tooth-count blade meant for rough framing, not furniture.
I started experimenting with high-TPI (teeth per inch) blades, and the difference was night and day. TechGearLab’s testing confirms that blade quality is the single biggest factor in cut cleanliness [5]. Now, I keep a dedicated “finish” blade for trim and a “rip” blade for big sheets. It’s a five-minute swap that saves an hour of sanding later.
Micro-Verdict: Achieve professional, splinter-free edges without the pro-level price tag.
3. Self-Centering Hinge Bits (Vix Bits)
I’ll admit it—I was skeptical at first. Why do I need a special drill bit just for hinges? But after mounting a set of cabinet doors in my Austin kitchen that ended up looking like a funhouse mirror because the holes were just 1/16th of an inch off, I became a believer.
These bits have a spring-loaded guide that centers the drill perfectly in the hinge hole. It’s one of those must-have accessories for DIY projects that feels like a “cheat code” for precision. Woodsmith Magazine recommends these as the only way to ensure hardware aligns perfectly every time [12].
Micro-Verdict: The secret to perfectly straight, “no-adjustments-needed” cabinet doors.
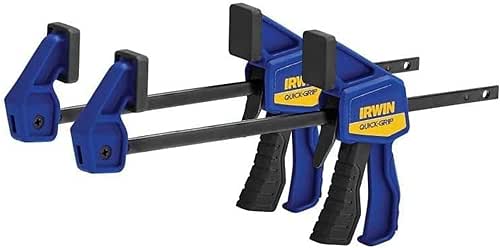
4. Quick-Release Bar Clamps
If there’s one thing I’ve learned from the r/BeginnerWoodWorking community, it’s the golden rule: you can never have too many clamps [6]. I used to try to hold a piece of wood with one hand while screwing it in with the other. The result? Pieces shifted, joints were gappy, and I usually ended up bruised.
What changed my workflow was investing in a few one-handed quick-release clamps. They act as a silent, steady partner that never gets tired. Whether I’m gluing up a sourdough proofing board or holding a trim piece in place, these are the “second set of hands” that actually make projects feel manageable.
Micro-Verdict: A “force multiplier” that turns solo DIY work into a stress-free experience.
5. Magnetic Parts Trays
Here’s the thing about “Sunday resets”: they’re a lot harder when you’re searching the garage floor for the one tiny screw that fell off your bike or IKEA dresser. I used to use old coffee mugs or—worse—my pockets, which usually led to a laundry surprise later.
I picked up a few magnetic trays while tuning up my bike for the Greenbelt trails, and they’ve since become workshop essentials. They even stick sideways to the side of a metal toolbox or a car hood. It’s a tiny $10 investment that eliminates the “lost part” panic that usually derails a project at the 90% mark.
Micro-Verdict: Simple, inexpensive insurance against the frustration of missing hardware.
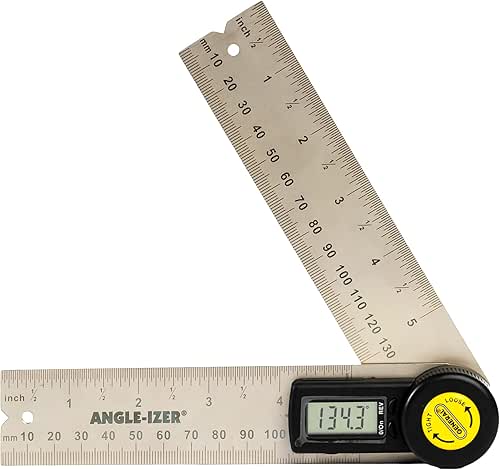
6. Digital Angle Finder or Speed Square
I’m a big believer that “good enough” is rarely good enough when it comes to the structure of your home. I used to “eyeball” my cuts or use a worn-out plastic protractor from my school days. But accuracy is the hallmark of a high-ROI project.
Whether you’re checking a miter saw for a perfect 45-degree angle or making sure a new wall stud is “plumb,” a digital angle finder takes the guesswork out of the equation. HGTV’s testing emphasizes that layout tools are the most underrated part of a homeowner’s kit [5]. It’s the difference between a DIY project that looks “homemade” and one that looks “handcrafted.”
Micro-Verdict: Pro-grade accuracy that makes even a beginner’s work look flawless.
7. Step Drill Bits (Unibits)
My drill bit drawer used to be a graveyard of broken bits and half-empty cases. It made improving tool performance impossible because I could never find the right size for thin materials like plastic or sheet metal.
The first time I used a step bit, it felt like magic. One bit can drill 10 different hole sizes, and because of the “step” design, it de-burrs the hole as it goes. OSHA safety standards even note that these are often safer for thin materials as they are less likely to “catch” and spin the workpiece [3]. It’s a minimalist’s dream accessory.
Micro-Verdict: One high-performance bit that replaces a whole box of clutter.
8. Universal Socket Adapters
We’ve all been there: hand-ratcheting a dozen long lag bolts into a playset or a deck ledger, your wrist screaming at you. I used to think that was just part of the “labor of love.”
Then I discovered socket adapters that let you use your power drill as a high-speed wrench. It turns a twenty-minute manual task into a thirty-second power move. It’s a staple in high-value budget kits like the DEKOPRO sets because it adds so much versatility to tools you already own [5].
Micro-Verdict: The ultimate time-saver for any project involving nuts and bolts.
Workshop Infrastructure: Lighting, Power, and Dust
While we’re talking about tool accessories, we can’t ignore the environment they live in. If you’re working in a dimly lit garage with one extension cord snaking across the floor, you’re fighting an uphill battle.
To upgrade workshop setup efficiency, consider these infrastructure essentials:
- High-Output LED Lighting: Shadows are the enemy of accuracy. Swapping old fluorescent tubes for 5000K LED shop lights reduces eye fatigue and makes your space feel twice as large [12].
- Dedicated Power: If your saw keeps tripping the breaker, it’s time to look at your power. Experts recommend at least one dedicated 20A circuit for high-draw tools like table saws or compressors [12].
- Smart Power Management: To save on energy and reduce “phantom loads,” use smart power strips for your battery chargers. This aligns with Clean Energy Connection’s advice on DIY efficiency that pays you back over time [11].
A Phased Roadmap to a Pro-Level Setup
You don’t need to buy everything at once. In fact, applying a “Six Sigma” style benchmarking approach to your DIY life means identifying which bottlenecks are slowing you down the most and fixing those first [10].
Phase 1: The Safety & Precision Foundation
Before you buy a fancy saw, invest in your own “onboard computer.”
- Essential: High-quality PPE (Safety glasses, ear protection, and a respirator). As Crafted Workshop says, safety is the first accessory you should ever buy [8].
- Essential: A reliable Tape Measure and Speed Square.
- Essential: Impact-rated bit set.
Phase 2: The Optimization Layer
Once you’re doing projects monthly, focus on speed and cleanliness.
- Essential: Quick-release bar clamps (at least 4).
- Essential: Task-specific saw blades.
- Essential: A basic Shop-Vac with a HEPA filter for dust control.
Phase 3: The Pro-Performance Upgrade
When you’re ready to tackle built-ins or furniture.
- Pro Upgrade: Self-centering hinge bits.
- Pro Upgrade: Digital angle finder.
- Pro Upgrade: Mobile workstation or a dedicated assembly table.
Creating a “Good Life” workshop isn’t about having the most expensive tools on the block. It’s about choosing the right accessories that make the work feel like play. When your tools support you, and your space is optimized for flow, those Austin Saturday mornings become even more rewarding.
Which accessory saved your last project from a total meltdown? I’d love to hear your “game-changer” items in the comments below. And if you’re looking to build out your kit further, don’t miss our guide on the best cordless drills to pair with those new impact bits!
—
Affiliate disclosure: We may earn a commission on products purchased through our links. Always follow manufacturer safety guidelines and consult a professional for electrical or structural work.
Authoritative Resources & References
- Asana (2024). Why Projects Fail: 7 Reasons (and Their Solutions). https://asana.com/resources/why-projects-fail
- Britannica (2025). Hand Tool: Limitations and Evolution. https://www.britannica.com/technology/hand-tool
- OSHA (2023). Hand and Power Tool Safety Standards. https://www.osha.gov/publications/hand-and-power-tools
- DeWalt Performance Specs (2025). Impact Ready Accessory Manuals. https://www.dewalt.com
- HGTV (2025). 6 Best Home Tool Sets of 2025, Tested and Reviewed. https://www.hgtv.com/shopping/product-reviews/best-tool-sets
- Reddit r/BeginnerWoodWorking (2024). Must Have Tools for Beginners Thread. https://www.reddit.com/r/BeginnerWoodWorking/
- YouTube: 731 Woodworks (2024). 50 Workshop Mistakes That Slow DIY Projects Down. https://www.youtube.com
- Crafted Workshop (2024). Essential Woodworking Tools for Beginners. https://craftedworkshop.com
- Project Management Institute (2023). Pulse of the Profession Report. https://www.pmi.org
- Six Sigma Global Institute (2024). Process Improvement Tools for Efficiency. https://www.6sigma.us
- Clean Energy Connection (2025). 57 Ways to Improve Your Home’s Energy Efficiency. https://www.cleanenergyconnection.org
- Woodsmith Store (2024). Workshop Setup & Upgrades Guide. https://store.woodsmith.com