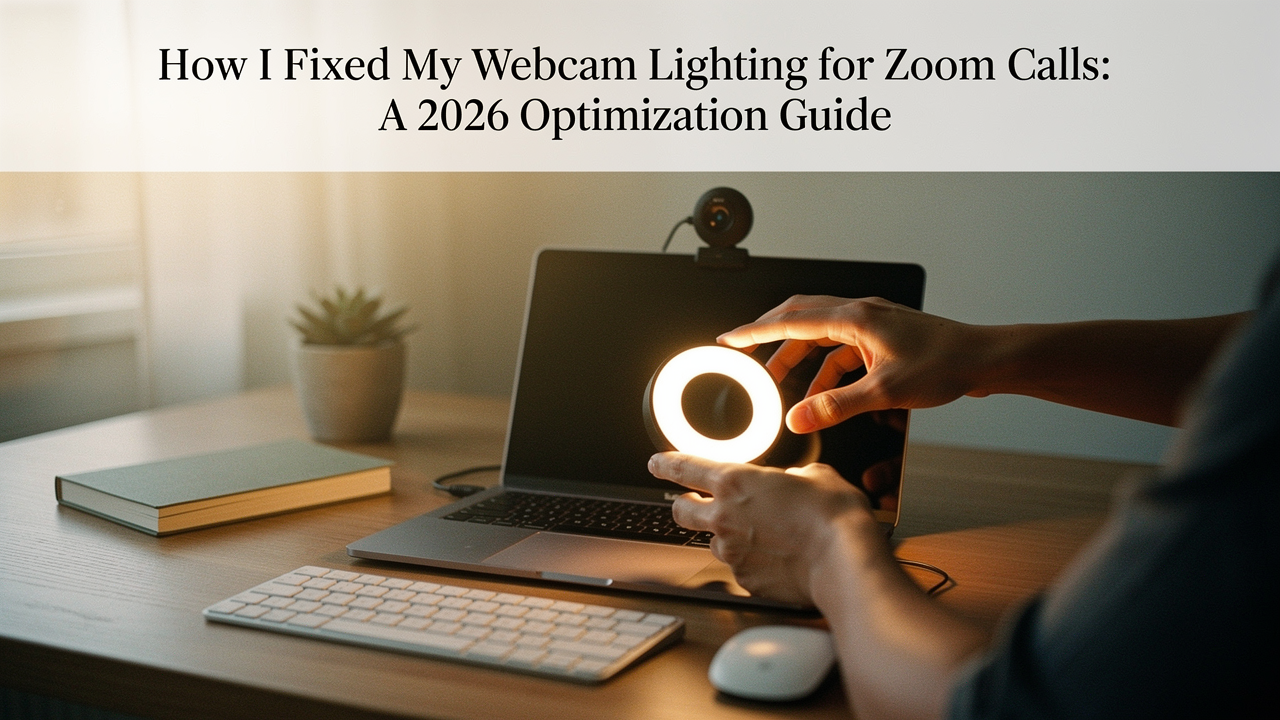
I remember sitting in my Austin apartment last winter, preparing for a high-stakes strategy call. I had my sourdough starter bubbling on the counter, my favorite Ethiopian roast in my mug, and my notes organized—but when I turned on my camera, I froze. I looked like I was calling from a witness protection program. I was a grainy, shadowy silhouette against a blown-out window, and honestly, it felt like my professional presence had evaporated before I even said “hello.”
That moment sent me down a rabbit hole of digital wellness and workspace optimization. I realized that while many of us spend hundreds on 4K webcams, we often ignore the one factor that actually dictates image quality: physics. In my world of “High Lifestyle ROI,” I’ve found that a $50 lighting adjustment offers a much better return on your daily energy than a $500 camera upgrade. When your environment supports you, you stop worrying about how you look and start focusing on what you’re saying.
Here is how I moved from “dark and grainy” to a professional, intentional glow that actually helps me feel more energized at the end of the day.
The Invisible Drain: Why Bad Lighting is Ruining Your Focus
We often talk about “Zoom fatigue” as a result of too many meetings, but there’s a biological component we’re overlooking. When your webcam lighting is poor, your video becomes “noisy” or grainy. Research from the Stanford Virtual Human Interaction Lab suggests that our brains have to work significantly harder to decode these degraded images, leading to higher levels of mental exhaustion [1].
It’s not just about the tech; it’s about how we feel. I’ve spoken with aesthetic experts like Dr. Sarah Hart, who points out that harsh overhead lighting or a camera positioned too low creates deep shadows that emphasize fine lines and “jowls” [2]. This “unflattering Zoom appearance” often leads to us staring at our own little box in the corner, feeling self-conscious instead of present. Fixing your light isn’t about vanity—it’s about removing a subtle, constant cognitive drain.
The Physics of a ‘Pro’ Face: Position, Diffusion, and Color
Before you buy a single piece of gear, you have to understand the three pillars of a great image: where the light comes from, how soft it is, and what color it is.
I used to think “more light is better,” but I ended up looking like a ghost. The goal is “diffused” light—light that has been softened so it wraps around your face rather than hitting it like a spotlight. For the most natural look, you want your light source at a 45-degree angle from your face. This creates a tiny bit of shadow that gives your features depth without making you look like a character in a noir film.
Equally important is the “color temperature.” Most home bulbs are “warm” (yellow), while daylight is “cool” (blue). If you mix them, your webcam’s auto-white balance will get confused, and you’ll end up looking orange or grey. For the best results, aim for lights in the 5000–5600K range, which mimics natural daylight [3].
The 1, 2, and 3-Point Setup Simplified
You don’t need a Hollywood studio, but understanding these three roles changed my setup forever:
- The Key Light: This is your primary source. It should be the brightest and placed in front of you, slightly to one side.
- The Fill Light: A softer light on the opposite side of the Key Light. It “fills in” the deep shadows so you look approachable.
- The Back Light (or Hair Light): A light placed behind you, pointing at your shoulders or the back of your head. This separates you from your background so you don’t look like a flat image.
Phase 1: The ‘Zero-Cost’ Fix (Using What You Have)
If you aren’t ready to invest in gear, the absolute best thing you can do is face a window. I see so many people sitting with a window behind them. This is the cardinal sin of video calls; it turns you into a silhouette. Move your desk so the window is directly in front of you.
If it’s a cloudy day or you’re working late, you can DIY a professional setup with regular household lamps. Here is the trick I learned from the folks at Wired: if your desk lamp is too harsh, point it at the wall behind your monitor rather than at your face [4]. The light will “bounce” off the wall, creating a much softer, more flattering glow.
You can also use a “diffuser” to soften a cheap bulb. I’ve used a piece of white printer paper or a thin white plastic tablecloth taped over a lamp (just make sure it’s an LED bulb so it doesn’t get hot!) to kill those harsh glares [5].
Phase 2: The Best 2026 Lighting Gear (High-ROI Picks)
When I finally decided to stop hacking my desk lamps and buy dedicated gear, I looked for items that were easy to set up and small enough for my Austin home office.
Budget Hero (<$30): The 10-inch Desktop Ring Light
Let’s be honest: I was skeptical of ring lights. They felt like “influencer” gear. But after trying a few, I realized they solve the “Key Light” problem perfectly for under $30. The trick is getting one that is at least 10 inches wide; smaller rings create that weird “cat-eye” reflection that I find distracting.
I started with a simple desktop model when I was testing the waters. It took up almost no space and immediately cleared up the graininess in my video. If you’re just starting to optimize your space, this is the most bang-for-your-buck move you can make.
Micro-Verdict: The easiest entry-point for a clear, shadow-free face.
The Professional Choice: Logitech Litra Glow
As my meeting load grew, I wanted something more intentional. I noticed that ring lights can be bulky on a small desk. That’s when I found the “panel light” category. These are rectangular and usually much more diffused than a ring.
I’ll admit—I love the “High Lifestyle ROI” of this specific light. It clips right onto my monitor, so it doesn’t take up any desk real estate. What really sold me was the soft, “edge-lit” technology; I can sit in front of it for six hours of calls without getting that “sun-blinded” feeling or eye strain. It’s a sophisticated, understated piece of tech that looks like it belongs in a curated office.
Micro-Verdict: Professional-grade diffusion that saves desk space and prevents eye fatigue.

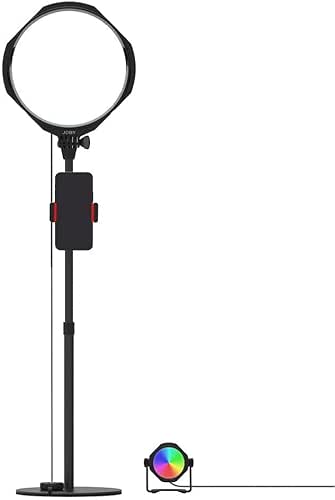
The Studio Setup: Joby Beamo Studio Deluxe Kit
Every now and then, I have to record a workshop or a keynote, and a single light doesn’t quite cut it. I found that I looked a bit “flat” against my bookshelf. I discovered this two-point kit that includes a main key light and a smaller “background” light.
I tried setting this up on a Sunday afternoon and was shocked at how much “depth” it added. By using the smaller light to softly illuminate my plants and books behind me, I suddenly looked like I was in a professional studio. It’s a bit more of an investment, but for those who spend their entire day on camera or create content, it’s the gold standard.
Micro-Verdict: A complete “studio-in-a-box” that adds cinematic depth to your calls.
Phase 3: The Software Edge (Zoom & OS Settings)
Physical lights are 90% of the battle, but 2026 software features can take you the rest of the way. I always make sure my Zoom settings are optimized to work with my lights rather than fighting them.
- Adjust for Low Light: Found in Video Settings. Set this to “Manual” rather than “Auto.” This allows you to brighten your image without the software adding that digital grain (noise).
- Touch Up My Appearance: I keep this at about 20%. It subtly smooths skin texture without making you look like a CGI character [6].
- Pro Mode (Windows/Mac): If you use an external webcam, check your OS settings for “Exposure Lock.” This prevents the camera from constantly shifting brightness every time you move your hands or head.
Troubleshooting Niche Problems
Even with great gear, two things usually trip people up: glasses and skin tones.
The Glasses Glare: If you see white boxes in your lenses, your light is too centered. Move your light 10 inches to the left or right and raise it up higher. This “off-axis” positioning ensures the reflection bounces away from the camera lens rather than into it.
Inclusive Lighting: Lighting isn’t “one size fits all.” For deeper skin tones, a light with a high CRI (Color Rendering Index) is essential. Look for a CRI of 95 or higher. This ensures the light accurately reflects the richness of your skin tone rather than making it look “ashy” or grey.
The Remote Worker’s Lighting Loadout
Depending on your space, here is what I recommend for a “High-ROI” setup:
- The Minimalist: A 10-inch ring light and facing a natural window.
- The Professional: A Logitech Litra Glow and a 45-degree desk orientation.
- The Power User: The Joby Beamo Studio Deluxe Kit with a dedicated “hair light” for depth.
Ultimately, fixing your webcam lighting is an act of self-care. When you show up on screen looking clear and bright, you feel more confident. You stop fighting the tech and start connecting with the people on the other side of the glass. And in our increasingly digital world, that human connection is the best ROI of all.
Affiliate disclosure: This post contains links to recommended gear that help support the site at no extra cost to you. I only recommend products I have personally tested or researched extensively for the “Good Life Test.”
References
- Bailenson, J. N. (2021). Nonverbal Overload: A Theoretical Argument for the Causes of Zoom Fatigue. Technology, Mind, and Behavior. Stanford Virtual Human Interaction Lab.
- Hart, S. (2023). Tips from an Aesthetic Doctor: How to Look Your Best on Video Calls. Dr. Sarah Hart Aesthetic Medicine.
- BenQ Knowledge Center. (2024). Best Lighting for Video Calls: Color Temperature and Eye Comfort. BenQ. https://www.benq.com/en-us/knowledge-center/knowledge/best-lighting-for-video-calls.html
- Wired Guide. (2025). How to Fix Bad Webcam Lighting: From Windows to Ring Lights. WIRED. https://www.wired.com/story/how-to-fix-bad-webcam-lighting/
- InThirdPerson. (2024). DIY Cheap Custom Lighting Solutions for Streaming and Calls. InThirdPerson.
- Zoom Support. (2026). Changing Video Settings: Adjust for Low Light and Appearance. Zoom Help Center. https://support.zoom.com/hc/en/article?id=zm_kb&sysparm_article=KB0060352