Despite having a decent camera, I was either a grainy shadow or washed out by the Texas sun hitting my back. It felt completely at odds with the “High Lifestyle ROI” I try to cultivate. I realized that if I wanted to feel confident and professional, I had to stop blaming my webcam and start looking at my light.
Whether you’re a remote professional, a therapist, or just someone tired of looking exhausted on camera, this is the 2026 playbook for fixing your setup. We’re moving from “accidental silhouette” to “studio-quality” using a few smart shifts and thoughtful gear.
Quick Fix Guide: The 3 Tiers of Better Lighting
- Level 1 ($0): Reposition your desk to face a window and repurpose a household lamp as a “fill” light.
- Level 2 ($50–$60): Add a dedicated, monitor-mounted LED panel to ensure consistent brightness regardless of the time of day.
- Level 3 ($100+): Invest in a multi-point system with a high-CRI ring light or key light for a truly professional, “broadcast” look.
The Diagnosis: Why Your Webcam Looks Bad (Even with a 4K Camera)
It’s a common frustration: you spend hundreds on a high-end 4K webcam, but the image still looks “noisy” or muddy. Here’s the thing—webcams have tiny sensors. They are notoriously hungry for light. Recent 2026 testing by industry experts confirms that even the most advanced 12MP laptop cameras fail to produce a sharp image in backlit or low-light rooms without proper external support [5].
Beyond the tech, there’s a psychological layer. Have you heard of “Zoom Dysmorphia”? It’s a real phenomenon where the combination of camera distortion and harsh lighting makes us hyper-fixate on perceived flaws. In a 2021 study, nearly 86% of dermatologists reported that patients were seeking treatments specifically because of how they looked on video calls [9]. Fixing your lighting isn’t just about vanity; it’s about reducing that “Zoom fatigue” and feeling like yourself again.
The “Silhouette” Trap: Why Windows Are Your Best Friend (or Worst Enemy)
We’ve all seen it: a colleague looks like they’re in witness protection because there’s a bright window right behind them. This happens because your webcam’s light meter averages the entire scene. If the brightest thing is behind you, the camera “dims” the whole image to compensate, leaving your face in the dark.
The rule is simple: Light should always be in front of you, never behind you.
The Science of a “Flattering” Face: Lumens and Kelvins
Before we look at gear, we need to talk about the two numbers that actually matter. If you want a “High Lifestyle ROI” setup, you don’t need the brightest light; you need the right light.
- Lumens (Brightness): For a standard desk setup, you aren’t trying to light a stadium. Professional recommendations suggest a “key” light (your main source) should provide roughly 600–800 lumens [10].
- Kelvins (Color Temperature): This determines if you look like you’re under a streetlamp (orange) or in a hospital (blue). The goal is “Daylight Balanced,” which is around 5000K. This provides the most natural skin tones and keeps you looking alert [1].
Level 1: The $0 “Optimization Geek” Fix
Before you spend a dime, let’s look at your room. My “Sunday reset” ritual often involves tweaking my environment to make the coming week smoother, and your desk placement is the biggest lever you have.
If you can, move your desk so you are facing a window. Natural, diffused light is the gold standard. If the sun is too harsh, a thin white curtain acts as a perfect DIY “softbox.”
What if it’s dark out or you don’t have a window? Dig through your house for a desk lamp with a flexible neck. Position it slightly above your eye line and off to one side. To soften the light so it doesn’t create harsh shadows under your eyes (the “raccoon” look), you can actually bounce the lamp off the wall in front of you instead of pointing it directly at your face [6].
Level 2: The $50–60 Upgrade (The Sweet Spot)
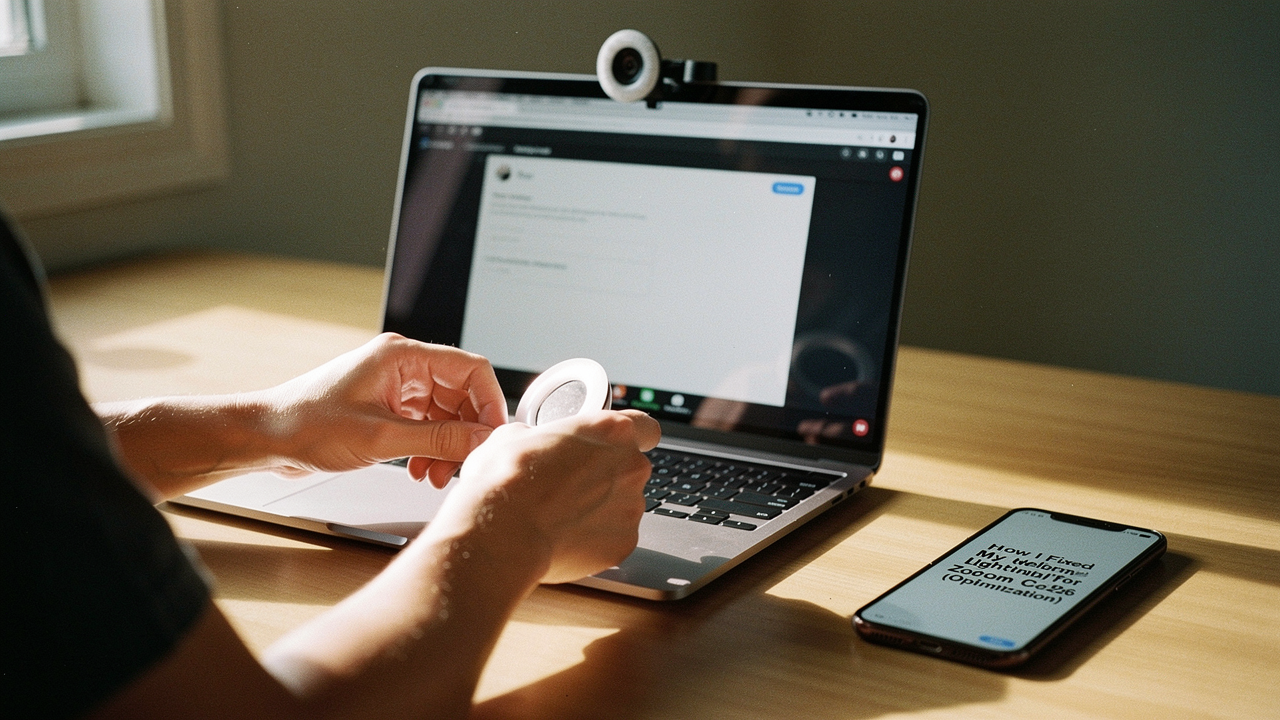
Let me be honest: I ignored dedicated video lights for years, thinking my “desk lamp hack” was enough. But then I had a 4:00 PM call during a rainy Austin afternoon, and I looked like a grainy ghost. That’s when I started looking for a solution that was small, reliable, and didn’t clutter my desk.
I spent a few days researching how streamers stay so crisp without having a full production crew. What I found was a compact LED that clipped right onto my setup. It changed everything because it provided a consistent 220 lumens of color-accurate light that actually made my $30 webcam look like a $200 unit.
Micro-Verdict: The ultimate “set-and-forget” tool for instant professional clarity.

If you’re working with a very shallow desk or a multi-monitor setup where a traditional stand won’t fit, there’s a different approach. I found that monitor-top bars are the unsung heroes of the home office. They sit right on top of your screen, saving precious real estate while casting a perfectly angled glow on your face.
Micro-Verdict: The best space-saving solution for crowded desks and minimalists.
The Minimalist Remote Worker Loadout
If you’re working from a corner of your living room or a small apartment, you need a setup that disappears when the laptop closes.
- Essential: A monitor-mounted light bar to save desk space
- Essential: A high-quality USB-C hub to keep cables tidy
- Pro Upgrade: A foldable laptop stand to keep your camera at eye level
Level 3: The “Broadcast” Setup (Ring Lights vs. Panels)
For those of us who spend 4+ hours a day on camera—consultants, coaches, or creators—Level 2 might feel a little “flat.” To get that professional “pop,” you need a larger light source.
I was skeptical about ring lights at first; they felt a bit too “influencer” for my taste. But then I tried one during a webinar and noticed how the circular shape filled in every shadow on my face, making me look rested even when I hadn’t finished my morning coffee. A 12-inch model is the sweet spot—anything larger, like those 18-inch beasts, is often overkill for a standard desk [7].
Micro-Verdict: Flawless, shadow-free lighting that makes you look instantly refreshed.

If you want the absolute “gold standard” used by pro streamers, you look toward thin LED panels. These offer much more control over the warmth and intensity. What sold me was the ability to control the brightness from an app on my phone, meaning I never have to fumble with buttons behind my monitor in the middle of a meeting.
Micro-Verdict: Studio-grade light quality with the convenience of digital control.

The “Glasses Glare” Solution: The 45/45 Rule
You know that feeling when you’re trying to look professional, but your glasses are just reflecting two big white circles? I struggled with this for months. Here is what finally clicked: The 45/45 Rule.
Move your light 45 degrees to the side of your camera and 45 degrees up from your eye line. This keeps the light out of the “angle of reflection” for your lenses. If you still see a glare, try “bouncing” the light off a white wall or using a larger diffuser.
The Power User Loadout
For those who lead webinars or high-stakes client meetings every single day.
- Essential: Two-point lighting (one Key light, one Fill light)
- Essential: An external 4K webcam with a large sensor
- Essential: A dedicated XLR microphone for broadcast-quality audio
- Pro Upgrade: An acoustic desk privacy panel to dampen room echo
Don’t Forget the Software: Zoom Settings You Need to Toggle
Even with great physical light, you can give your setup a final “High Lifestyle ROI” boost through software. If your video still looks dark, follow this path in Zoom:
- Settings > Video
- Check “Adjust for low light” and set it to “Manual.” This gives you a slider to brighten your face without making the background look grainy.
- Check “Touch up my appearance”—but keep the slider low. We want to look like our best selves, not a blurred filter.
The Bottom Line
When your environment supports you, everything flows better. Fixing your webcam lighting isn’t just a tech task; it’s a way to ensure your digital presence matches the care you put into your work. Start with the free moves—reposition your desk and grab a lamp. If you’re ready for that “High Lifestyle ROI” upgrade, a dedicated panel like the Litra Glow is the single best investment you can make for your professional image this year.
What’s your home office lighting hack? Drop a comment below or tag us in your “Before and After” setup photos on Instagram!
Affiliate Disclosure: We may earn a commission on products purchased through our links. This helps support our research into the best goods for a good life.
References & Further Reading
- BenQ (2025). Best Lighting for Video Calls: Color Temperature and Positioning. https://www.benq.com/en-us/knowledge-center/knowledge/best-lighting-for-video-calls.html
- Lume Cube (2024). How to Get Good Lighting for Virtual Meetings. https://lumecube.com/blogs/news/how-to-get-good-lighting-for-virtual-meetings
- Digital Camera World (2026). The Best Lights for Zoom Calls: From Ring Lights to LED Panels. https://www.digitalcameraworld.com/buying-guides/best-lights-for-zoom-calls
- Dialpad (2025). Webcam Lighting 101: Professional Tips for Remote Workers. https://www.dialpad.com/blog/webcam-lighting/
- Wired (2026). How to Fix Bad Webcam Lighting: Our 2026 Testing Results. https://www.wired.com/story/how-to-fix-bad-webcam-lighting/
- The Podcasters’ Studio (2023). DIY Webcam Lighting Setup Using Household Items. https://thepodcastersstudio.com/webcam-lighting-setup/
- NYT Wirecutter (2025). The Best Ring Lights for Zoom and Vlogging. https://www.nytimes.com/wirecutter/reviews/best-ring-lights/
- HumanCentric (2026). Optimizing Small Desk Lighting for Video Conferencing. https://www.humancentric.com/products/conference-lights-main-base
- Kourosh, S. (2021). Zoom Dysmorphia: The Impact of Video Conferencing on Self-Perception. AAD Journal. https://drmaylidavis.com/blog/the-rise-of-zoom-dysmorphia/
- Camo (2024). The Ultimate Guide to Video Call Lighting Levels. https://camo.com/support/how-to/lighting-video-calls