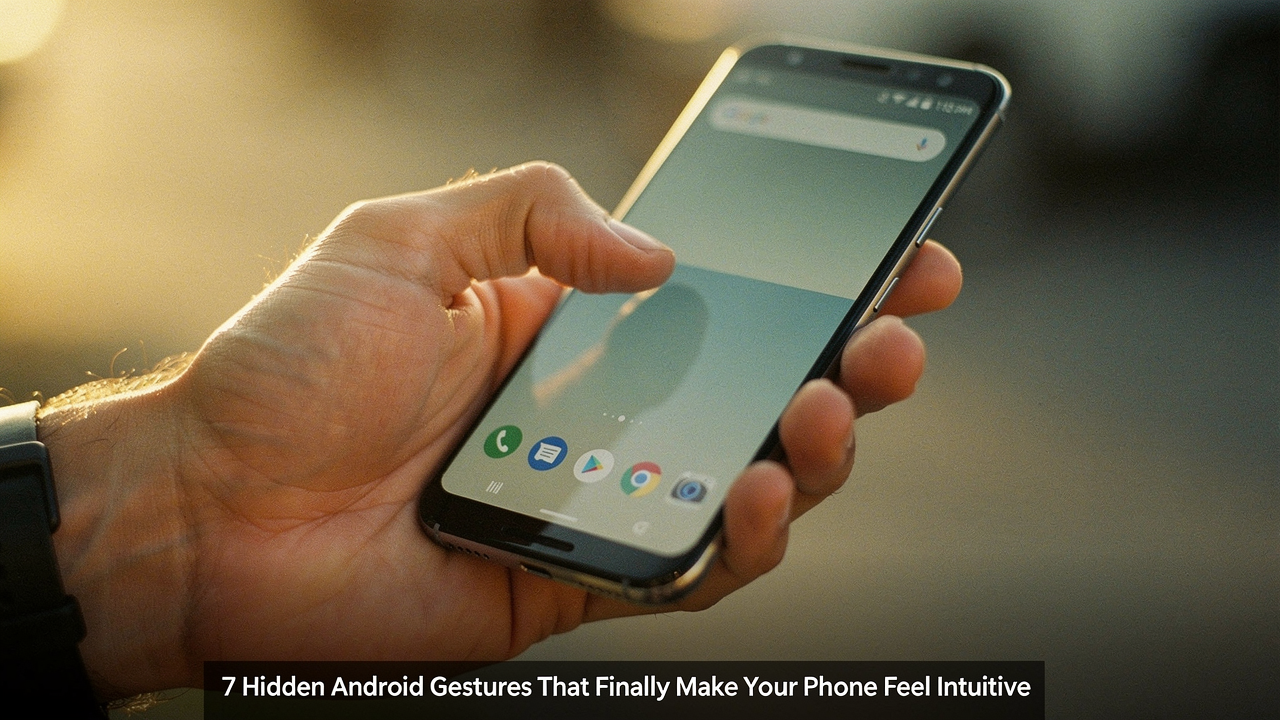
For the longest time, I clung to the old-school three-button navigation because gestures felt like a foreign language I didn’t care to learn. But then I started digging. What I discovered is that “Android navigation frustration” isn’t a failure of the user; it’s usually because the most intuitive tools are buried three menus deep.
Once I unlocked these seven hidden gestures, my phone stopped feeling like a digital brick and started feeling like an extension of my hand. Here is how you can reclaim your phone’s usability and make every swipe feel intentional.
The Friction Problem: Why Android Navigation Feels ‘Off’
If you’ve ever felt that your phone is not intuitive to use, you aren’t alone. Modern smartphones have a reachability problem. According to Fitts’s Law, a model used in human-computer interaction, the time it takes to move to a target depends on the distance to the target and its size [4]. On today’s massive screens, those targets (like the notification shade or the “back” button) are often in the “danger zone”—the areas hardest for your thumb to reach comfortably.
Google’s own UX research suggests that gesture navigation, once mastered, significantly reduces thumb travel compared to the static three-button layout [1]. However, the “friction” comes from the learning curve and the fact that many of us are using “stock” settings that don’t account for our specific hand size or how we hold our devices.
Gestures vs. Buttons: Making the Choice
It’s okay if you still prefer the classic layout, but before you give up on gestures, consider which “persona” fits you best:
- The One-Handed Wanderer: You’re often multitasking—holding a coffee, a leash, or a grocery bag. Gestures are your best friend because they bring the controls to your thumb.
- The Precision User: You hate “ghost touches” and accidental triggers. You might prefer the 3-button layout for its clear, tactile boundaries.
- The Power User: You want to jump between apps at lightning speed. Gestures offer a fluid “flow” that buttons simply can’t match.
The ‘Hidden’ Gems: Gestures You Didn’t Know You Had
Here is the thing about Android: the best features are rarely advertised on the box. I spent years fumbling with my settings before I realized these shortcuts existed.
1. Quick Tap (Back-Tap) for Pixels
I used to find it incredibly annoying to fumble for the power button or the on-screen toggle just to turn on my flashlight during a late-evening walk. I tried adding widgets to my home screen, but they were always buried under other apps. What finally clicked for me was discovering “Quick Tap” in the Pixel settings. Now, I just give the back of my phone a firm double-tap, and the flashlight snaps on instantly. It feels like magic.
Micro-Verdict: The ultimate hands-free shortcut for your most-used actions.
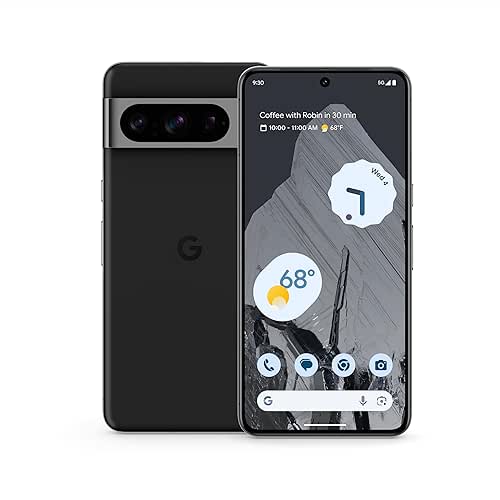

Best For: Pixel users who want instant access to the flashlight, screenshots, or Google Assistant without looking at the screen.
2. One-Handed Mode: The Savior of Large Screens
Let’s be honest: no one’s thumb is actually long enough to reach the top-left corner of a modern Pro-sized phone without some serious hand gymnastics. I ignored this feature for a year, thinking it would just make my screen look tiny and weird. But when I finally tried it, I realized it doesn’t shrink the screen—it just slides the top half down into reach. It was my daily reality until I learned this simple swipe.
Micro-Verdict: Makes the “unreachable” parts of your screen accessible in a split second.
Best For: Anyone with a screen larger than 6 inches who values ergonomic comfort [1].
3. The Pro App Switcher Swipe
You know that feeling when you’re trying to copy a code from your email into your banking app, and the “Recent Apps” menu feels slow and clunky? I used to swipe up, wait for the carousel, find the app, and tap. It felt like so much wasted energy. Then I found the “bottom bar swipe.” If you swipe horizontally across the very bottom of your screen (the little gesture line), you can flip between your two most recent apps instantly.
Micro-Verdict: The fastest way to multitask without breaking your rhythm.
Best For: Remote workers and “power users” who constantly bounce between two different apps.
4. Three-Finger Screenshot (Samsung & OnePlus)
I’ll admit it—I was skeptical at first about using three fingers for a screenshot. I was so used to the “Power + Volume Down” claw grip that always seemed to lock my phone by mistake instead of taking the photo. But on Samsung and OnePlus devices, swiping three fingers down the screen is a game-changer. It’s fluid, it’s fast, and it never fails.
Micro-Verdict: A much more natural way to capture information on the fly.
Best For: Samsung Galaxy and OnePlus users who take frequent screenshots for work or recipes.
Customizing for High Lifestyle ROI: Tools for Power Users
Once you’ve mastered the basics, you can start to customize Android gesture controls to fit your specific “Sunday reset” or workday routine.
Fixing the ‘Back’ Sensitivity
One of the biggest frustrations with gestures is accidentally triggering the “back” action when you’re just trying to scroll through a photo gallery. What surprised me was that you can actually tune this.
In your settings, you can adjust the “Back sensitivity” for the left and right edges independently. If you’re right-handed, you might want the right edge to be less sensitive so your thumb doesn’t accidentally exit an app while you’re scrolling [3].
Supercharging with Nova Launcher
Here is the thing: stock Android is great, but for those of us who obsess over optimization, third-party launchers take it to the next level. I wanted a way to open my calendar just by swiping up on my “Clock” icon. I tried several different tools, but they all felt laggy. What sold me was Nova Launcher’s deep gesture integration. It allows you to assign a unique swipe-action to every single icon on your home screen.
Micro-Verdict: The “High Lifestyle ROI” choice for a truly bespoke phone experience.
Best For: Minimalists who want a clean home screen but still need quick access to 20+ apps.
Troubleshooting: When Gestures Stop Working
If your Android phone feels unresponsive or your gestures are lagging, it’s usually not a hardware “death sentence.” Here is a quick checklist to get things flowing again:
- Check Touch Sensitivity: If you use a tempered glass screen protector, your phone might miss light swipes. Go to Settings > Display and toggle on “Touch Sensitivity” (this is a life-saver on Samsung devices) [3].
- Clear System UI Cache: Sometimes the software that handles gestures gets “clogged.” A quick restart usually fixes this, but if the lag persists, clearing the cache of the “System UI” app can help.
- Check for App Conflicts: Some apps use “Edge Panels” or their own side-menus that conflict with the system’s “back” gesture. Android Developers call these “Exclusion Zones” [4]. If an app is being stubborn, try swiping at a slight diagonal angle.
- Safe Mode Diagnostic: If gestures are totally broken, boot into Safe Mode. If they work there, a third-party app you recently installed is likely the culprit [1].
Small tweaks lead to a higher Lifestyle ROI because they save you those frustrating “micro-seconds” every single hour. When your phone finally understands how you want to move, you spend less time fighting the interface and more time actually living.
Comment below: Is the ‘Back-Tap’ a game-changer for you, or do you prefer the classic 3-button layout?
Notes: Some features like “Quick Tap” are hardware-dependent and may not appear on budget-tier or older Android devices.
References
- Google Android Help. (2024). Use gesture navigation on your Android device. https://support.google.com/android/answer/9083965
- Pixel Phone Help. (2024). Quickly tap the back of your Pixel phone. https://support.google.com/pixelphone/answer/10494218
- Samsung Support. (2023). How to use navigation gestures on your Galaxy phone. https://www.samsung.com/us/support/answer/ANS00080640/
- Android Developers. (2024). Gesture Navigation: System UI behaviors. https://developer.android.com/training/gestures/gesturenav