I love my apartment in East Austin. It has these gorgeous high ceilings and an open-concept living area that’s perfect for Sunday morning yoga, but there’s one major drawback: my landlord is incredibly strict about the security deposit. For years, I settled for “good enough” sound because I thought a true cinematic experience required a construction crew, a few dozen holes in the drywall, and enough speaker wire to wrap around Lady Bird Lake.
But here’s the thing—I’m a curator of “High Lifestyle ROI.” I believe our spaces should support our best lives without causing us stress. I wanted that immersive, “sound-moving-above-your-head” magic of Dolby Atmos, but I needed a way to get it that I could pack up and move in a weekend. After weeks of researching signal chains and testing reflective audio modules over my morning coffee, I finally cracked the code.
You don’t need to drill. You don’t need to cut. You just need a smarter strategy for your setup.
The Dolby Atmos Dilemma: Why ‘High ROI’ Audio Usually Requires Holes
If you’ve ever sat in a premium theater and felt the rumble of a helicopter flying from the back of the room to the front, you’ve experienced Dolby Atmos. Unlike traditional surround sound, which sends audio to specific “channels” (left, right, back), Atmos is “object-based” [1]. It treats every sound—a raindrop, a footstep, a distant engine—as an individual object that can be placed anywhere in a 3D dome of sound.
The problem? To create that “dome,” you traditionally need height. In a perfect world, you’d cut four holes in your ceiling and mount speakers directly above your head. According to official Dolby speaker setup guides, layouts like 5.1.2 (five floor speakers, one subwoofer, and two height speakers) are the gold standard for immersion [1].
For us renters, though, that’s a non-starter. Beyond the lease violations, there’s the “home theater wiring issues” nightmare—trying to hide cables that have to climb walls and cross ceilings. I struggled with this for a long time, assuming I was stuck with a basic soundbar forever. What finally clicked for me was realizing that sound, like light, can be reflected.
The Secret Sauce: Up-Firing Modules and ‘Reflective’ Height
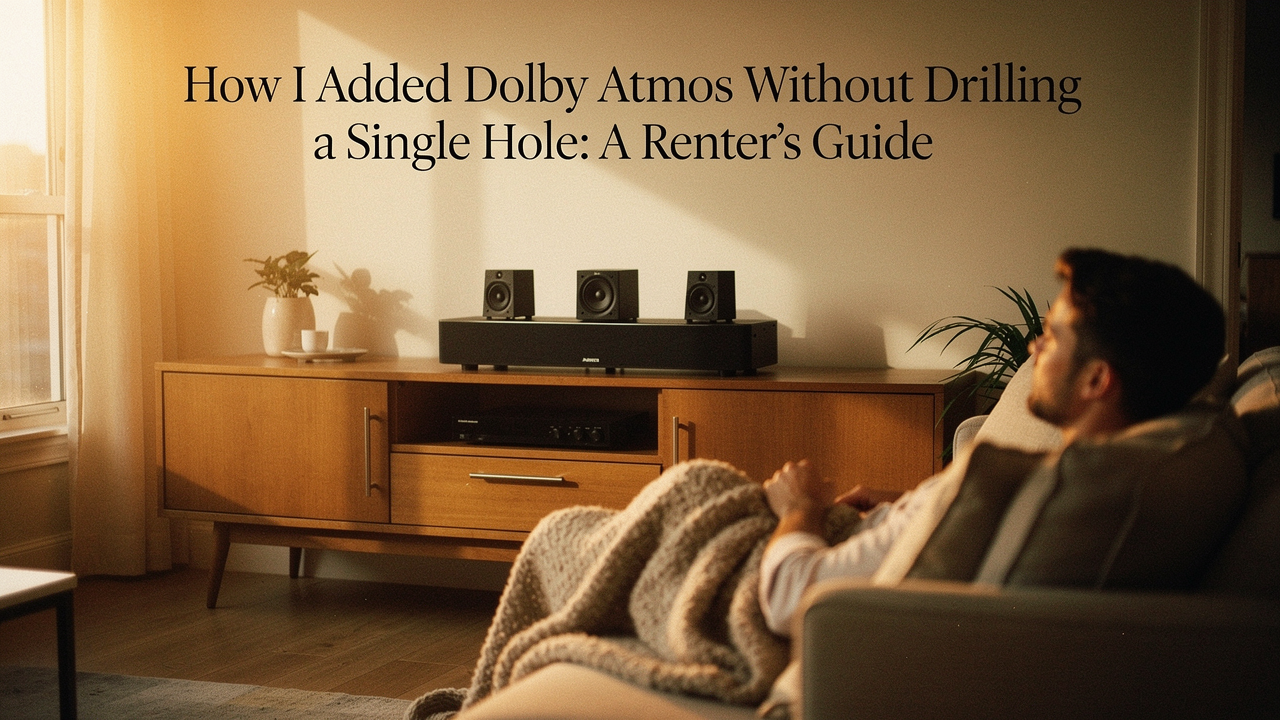
The “Aha!” moment came when I discovered Dolby Atmos-enabled speakers, often called “up-firing modules.” These are designed specifically for people who can’t or won’t drill into their ceilings. Instead of mounting a speaker in the ceiling, these modules sit on top of your existing front speakers and angle the sound upward [1].
The physics is actually quite beautiful: the sound hits your ceiling at a specific angle and bounces back down to your seating position. To your ears, it feels like the sound is coming from above. For this to work well, Dolby suggests a flat, reflective ceiling between 7.5 and 12 feet high [1].
Why I Chose the JBL Stage2 240H for My Rental
I’ll admit it—I was skeptical about reflective audio at first. I was worried it would sound “muddy” or lose that sharp directionality I loved in the theater. I tried a few entry-level modules that just felt like they were making the room louder without adding actual height. Then I found a solution that solved both the audio quality and the “spaghetti wire” mess in one go.
I spent hours looking for a speaker that wouldn’t look like a tech-clutter eyesore in my living room. I finally landed on a pair of height modules that were designed to integrate perfectly with my floorstanding speakers. What really sold me wasn’t just the sound, but how they handled the cables. Instead of a wire dangling off the back of the module, the signal passes through the main speaker cabinet itself.
Micro-Verdict: The most elegant way to add 3D height without a single drywall screw.
Solving the ‘Surround Spaghetti’: Wireless Speaker Systems
Even after I figured out the height channels, I still had the “rear speaker” problem. My couch is in the middle of the room, and running wires across the floor to the back wall was a trip hazard (and a total vibe-killer for my minimalist aesthetic).
Here’s the reality of a “wireless home theater”: the speakers almost always still need a power cord, but they don’t need a signal wire running all the way back to your receiver. You have two main paths here:
- The Ecosystem Path: Systems like Sonos or Bose use proprietary Wi-Fi tech to sync everything. It’s incredibly easy, though it locks you into their brand.
- The Hybrid Path: This is what I chose. You keep your high-quality wired front speakers but use a “wireless surround kit” to send the back-channel audio across the room via RF signals.
What surprised me was the technical progress in this space. WiSA-certified systems, for example, now support uncompressed 24-bit audio with a latency of just 5.2ms [2]. That’s faster than the blink of an eye, meaning you won’t deal with that annoying lip-sync lag that used to plague wireless gear.
Let me be honest: I ignored these kits for years because I thought they were underpowered. But for rear surrounds, which mostly handle ambient noise and directional cues, they are a total game-changer.
Micro-Verdict: High-fidelity surround sound without the cross-room cable clutter.
Stealth Installation: Renter-Friendly Cable Management Hacks
You know that feeling when you buy a beautiful new piece of tech, but as soon as you plug it in, your room looks like a server closet? I refuse to live that way. If we’re going “no-drill,” we have to get creative with how we hide the power cords that remain.
Actually, choosing not to drill is a health win too. The EPA notes that drilling into older building materials can create dust containing lead or other contaminants [3]. By staying on the “outside” of the walls, we keep our air clean and our security deposit intact.
Here is how I managed the “Stealth Loadout” in my Austin apartment:
- Paintable Raceways: These are plastic channels with adhesive backs. I ran them along the top of my baseboards and painted them the exact “Alabaster White” of my walls. They disappear.
- 3M Command Clips: Instead of stapling wires to the wall, I use clear Command clips. They hold the weight and peel off without a trace when I move.
- Area Rugs: A thick, high-quality rug is a home theater’s best friend. Not only does it hide flat speaker wires running to a subwoofer, but it also improves the room’s acoustics by reducing echoes.
The Tech Bottleneck: HDMI eARC and Your Connection Chain
I see this mistake all the time in the home theater forums: someone spends thousands on speakers but connects them with the wrong cables or to an old TV. Your “no-drill” Atmos dream will die if your connection chain can’t handle the data.
To get the full, lossless Dolby Atmos (known as TrueHD), your TV and your receiver/soundbar must support HDMI eARC (Enhanced Audio Return Channel). If you only have standard ARC, you’ll likely only get compressed Atmos via Dolby Digital Plus.
And here’s a tip to save you some money: don’t fall for the “premium” $100 HDMI cable trap at the big-box stores. Independent research from experts like Wirecutter has proven that inexpensive, certified High-Speed HDMI cables perform identically to the luxury ones [4].
The Renter’s “High ROI” Loadout
If you’re ready to start your own upgrade, here’s how I’d segment your gear based on your space:
The Minimalist Studio (Small Space)
You want the vibe without the bulk. A soundbar-first approach is your best friend.
- Essential: An Atmos-capable soundbar with built-in up-firing drivers
- Essential: A compact, wireless subwoofer that can tuck behind a chair
- Pro Upgrade: Small, wireless rear satellites that sit on end tables
The Living Room Theater (Medium/Large Space)
This is my current setup—prioritizing audio quality while keeping it renter-friendly.
- Essential: A 7-channel Atmos-enabled Receiver (AVR)
- Essential: Two Floorstanding speakers with integrated height modules (like the JBL Stage2)
- Essential: A wireless surround kit for your rear speakers
- Pro Upgrade: A secondary “subwoofer isolation pad” to keep the bass from vibrating your neighbor’s floor
Is It Worth It? The ‘High ROI’ Verdict
At the end of the day, I spent about $250 on my up-firing modules and another $150 on cable management and wireless kits. Compare that to a professional retrofit, which can easily cost $2,000 to $5,000 once you factor in labor, drywall repair, and painting.
The “High Lifestyle ROI” here is off the charts. Is it exactly the same as having six speakers embedded in my ceiling? If I’m being 100% honest, no—the ceiling speakers will always have a slight edge in precision. But is it 90% of the way there? Absolutely.
When I’m sitting on my couch with a fresh slice of sourdough and Dune starts playing, the “no-drill” compromise disappears. The sound swells, the ceiling seems to vanish, and I’m completely immersed in the story. And the best part? When my lease is up, I’ll have my security deposit in one hand and my 3D theater in the other.
Affiliate Disclosure: This article contains affiliate links. If you choose to purchase through these links, I may earn a small commission at no extra cost to you. This helps support my Austin-based studio and allows me to keep sharing high-ROI lifestyle tips with you!
References & Authoritative Sources
- Dolby Laboratories (2024). Dolby Atmos Speaker Setup Guide. Official Website
- WiSA Association (2023). Wireless Audio Technology & Latency Standards. Technical Whitepaper
- US Environmental Protection Agency (2023). Steps to Safe Renovation and Repair Activities. EPA.gov
- Wirecutter / NYT (2024). The Best HDMI Cables. NYTimes.com