=
Within seconds, my heart stopped. Instead of a crystal-clear display, a strange, hazy “milky film” began to bloom across the center of the panel. No matter how much I buffed, it wouldn’t budge. I hadn’t just cleaned my screen; I had chemically stripped the anti-reflective coating right off the surface.
In my quest for a “clean” space, I’d ignored the most basic rule of monitor cleaning: these aren’t windows. They are complex pieces of technology with delicate polymer layers that hate household chemicals. Today, I want to share the manufacturer-approved routine I learned the hard way—the one that actually offers a “High Lifestyle ROI” by protecting your gear for the long haul.
The ‘Simple’ Routine That Nearly Ruined My Setup
Most of us treat our tech like our kitchen counters. We see a smudge, we grab the nearest spray, and we scrub. But here’s the thing: modern monitors are incredibly fragile. When I used that glass cleaner, I was essentially introducing a solvent to a delicate plastic film.
The immediate result wasn’t just a ruined view; it was a voided warranty. According to Dell’s support documentation, damage caused by using incorrect cleaning agents—like ammonia or alcohol—is classified as “Customer Induced Damage” (CID) [1]. This means if you melt your screen coating with Windex, you’re on the hook for the full replacement cost. Beyond the chemistry, the Economic Times has pointed out that using abrasive materials like paper towels is the number one cause of permanent micro-scratches and persistent streaks [2].
The $500 Mistake: Why Household Cleaners Fail
The “blue stuff” we use on our bathroom mirrors is designed to cut through grease on glass. However, most PC monitors aren’t glass; they are layers of polarized film and anti-glare coatings. Harsh chemicals act as a paint stripper for these coatings. Once that protective layer starts to peel or cloud, there is no “buffing it out.” You’ve effectively aged your monitor by a decade in ten seconds.
The Science of Screen Damage: What Not to Use
To keep your PC monitor care routine safe, you have to know your enemies. The goal of proper monitor cleaning is to remove oils without disturbing the chemistry of the panel.
What surprised me during my research was just how many common items are actually “monitor killers.” WebMD notes that chemicals like acetone, ammonia, and even propylene glycol (found in many “all-purpose” wipes) can corrode the protective coatings on LED and LCD screens [5]. Meanwhile, the lab experts at RTINGS, who have tested over 350 monitors, have observed that even “soft” paper towels or tissues can leave behind lint and microscopic scratches that dull the screen over time [4].
The ‘Never Use’ Blacklist
Before you touch your screen, make sure these items are nowhere near your desk:
- Ammonia-based glass cleaners (like Windex): These will eat through anti-glare coatings.
- Paper towels or Tissues: These are made of wood pulp and are surprisingly abrasive to soft plastic.
- Vinegar: While great for coffee pots, the acid can be too harsh for many monitor finishes.
- Dish soap or Detergents: These leave behind a residue that is nearly impossible to remove without excessive scrubbing.
- Tap Water: The minerals in “hard” water can leave white spots or tiny scratches.
The Manufacturer’s Playbook: How to Clean a Monitor Safely
After my “milky film” disaster, I spent hours digging through OEM (Original Equipment Manufacturer) manuals. What I found was a surprisingly simple, three-step “Gold Standard” protocol that every brand from ASUS to Apple agrees on. This is how you clean a monitor without damaging it.
Step 1: The Pre-Clean Checklist
First, turn the monitor off and unplug it. This isn’t just for electrical safety. ASUS ZenTalk guidelines emphasize that a warm panel can cause cleaning liquids to evaporate too quickly, “baking” streaks into the surface before you can wipe them away [2]. Let the panel cool to room temperature before you start.
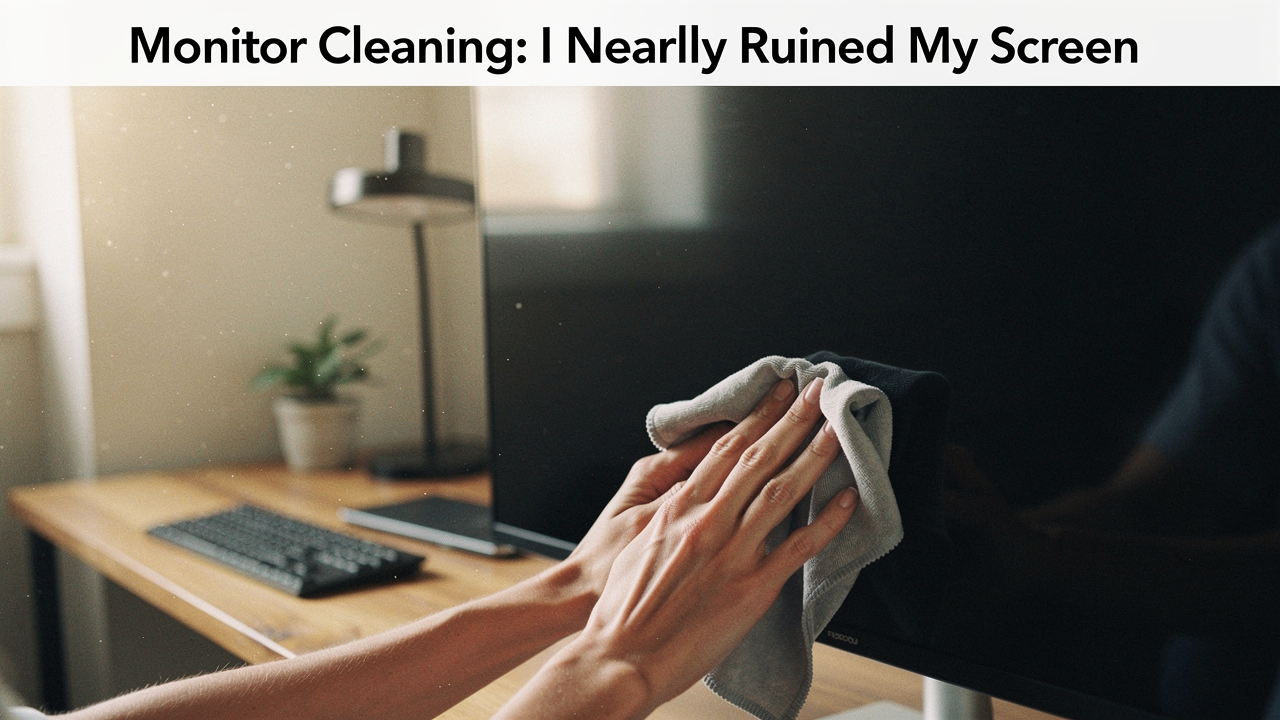
Step 2: The Dry Pass
Start with gravity. Use a clean, high-GSM (grams per square meter) microfiber cloth to gently wipe the screen in long, horizontal or vertical strokes. RTINGS’ lab testing suggests that for 90% of users, a dry microfiber pass is all you need to remove dust and light debris [4]. Never press hard; if the dust doesn’t come off with a light touch, move to Step 3.
Step 3: The Targeted Damp Clean
For those stubborn fingerprints from your midday snack, you need a tiny bit of moisture. The secret is distilled water. Lenovo US recommends using a “slightly damp” cloth—never spray the screen directly [3]. If liquid runs down into the bezel, it can hit the internal electronics and cause permanent “line of death” pixel failure.
Safe Screen Cleaning Products: My Personal Kit
I used to think “screen cleaners” were a gimmick until I realized they were actually just a safety net for people like me who are prone to over-spraying. If distilled water isn’t cutting through the oils on your screen, there are a few “High Lifestyle ROI” tools I keep in my Sunday reset kit.
Let’s be honest: sometimes a dry cloth just moves the grease around. I struggled with this for months until I noticed the technicians at the Apple store using a specific, neon-colored spray. I was skeptical—wasn’t it just overpriced water? But after researching the formula, I found it was completely free of the “blacklist” chemicals like ammonia and alcohol. It’s become the only thing I trust on my high-end OLED panel.
Micro-Verdict: The best way to get a streak-free, “like new” finish without risking your warranty.
The Essential Monitor Care Kit
If you want to build a kit that lasts for years, keep these three items in your desk drawer:
- Essential: An oversized, high-quality microfiber cloth (at least 300 GSM).
- Essential: A small spray bottle filled with distilled water.
- Pro Upgrade: A dedicated, non-toxic screen cleaner like WHOOSH! for stubborn oils.
Panel-Specific Rules: OLED vs. Matte vs. Nano-Texture
Not all screens are created equal, and PC monitor care changes based on your tech.
- Matte Screens: These have a “bumpy” microscopic surface to diffuse light. Scrubbing too hard can “polish” a spot, making it permanently shiny compared to the rest of the screen.
- OLED Panels: These are incredibly sensitive to heat and pressure. RTINGS notes that OLED coatings can be more prone to peeling if you use even mild alcohols, so stick to dry microfiber whenever possible [4].
- Apple Nano-Texture: If you have a Pro Display XDR or a high-end iMac with nano-texture glass, Apple is very strict: use only their specific polishing cloth. Using anything else can damage the etched glass.
Damage Control: What to Do if You Already Messed Up
If you’re reading this while staring at a streaky, cloudy mess because you just used Windex, don’t panic—but do act fast.
First, stop rubbing. If you used a liquid and it’s still wet, Lenovo suggests powering the unit off immediately and letting it dry for at least 24 hours [3]. If you have “milky” streaks from a chemical cleaner, try a very gentle pass with a microfiber cloth slightly dampened with distilled water. This can sometimes lift the chemical residue if the coating hasn’t been fully dissolved.
However, if the coating is peeling or the screen has “rainbow” patches that don’t move when touched, the damage is likely permanent. In that case, your best bet is to check your homeowner’s or renter’s insurance, as standard manufacturer warranties won’t cover cleaning mishaps.
Conclusion
Living well is about choosing better, and that includes how we maintain the tools that support our work and play. Treat your monitor with the same intentionality you’d give a sourdough starter or a favorite piece of furniture—it needs a gentle touch and the right environment to thrive.
When in doubt, remember: Dry microfiber is king. Keep the chemicals in the kitchen, keep the moisture on the cloth, and your setup will stay as clear as that first day you took it out of the box.
If you found this helpful, check out my other guide on optimizing your workspace ergonomics—because a clean screen is only half the battle for a better workday.
***
Affiliate disclosure: Some links in this article are affiliate links, which means I may earn a small commission at no cost to you. Technical disclaimer: Always consult your specific monitor’s manual before applying any liquids or cleaners, as every manufacturer has slightly different tolerances.
References & Authoritative Sources
- Dell Support. (2024). Damage to Monitor Through Incorrect Cleaning Methods. https://www.dell.com/support/kbdoc/en-us/000188802/damage-to-monitor-through-incorrect-cleaning-methods
- ASUS ZenTalk. (2023). [LCD Monitor] How to Clean LCD/OLED Panel/Monitor. https://zentalk.asus.com/t5/faq/lcd-monitor-how-to-clean-lcd-oled-panel-monitor/ta-p/408755
- Lenovo US. (2023). How to Clean a Monitor Screen. https://www.lenovo.com/us/en/glossary/how-to-clean-monitor-screen/
- RTINGS.com. (2024). How To Clean A Monitor Screen: Tips To Avoid Damaging The Screen. https://www.rtings.com/monitor/learn/how-to-clean-your-monitor
- WebMD. (2023). The Best Method to Clean Your Computer Screen. https://www.webmd.com/a-to-z-guides/cleaning-your-computer-screen